Growing Moringa Plant At Home? Follow These Tricks!
In this post, we will talk about the common mistakes people make while growing a Moringa plant at home, and how these mistakes slowly stop the plant’s growth. I’ll explain the real causes behind these problems and show you the proper solutions step by step. So let’s begin.
1-Planting Moringa in the Right Season?
The first and most important thing in growing a Moringa plant at home that most beginners ignore is the proper season. Beginners often don’t know about the ideal growing season of the Moringa plant.
People think it’s a hardy plant and that it will grow in every season, and this simple mistake limits the new growth and proper development of the plant.
The Moringa plant is indeed very hardy. It grows very well in a wide range of climates, but there is a growing season for every plant. It’s called the growing season because the plant performs really well when this season arrives.
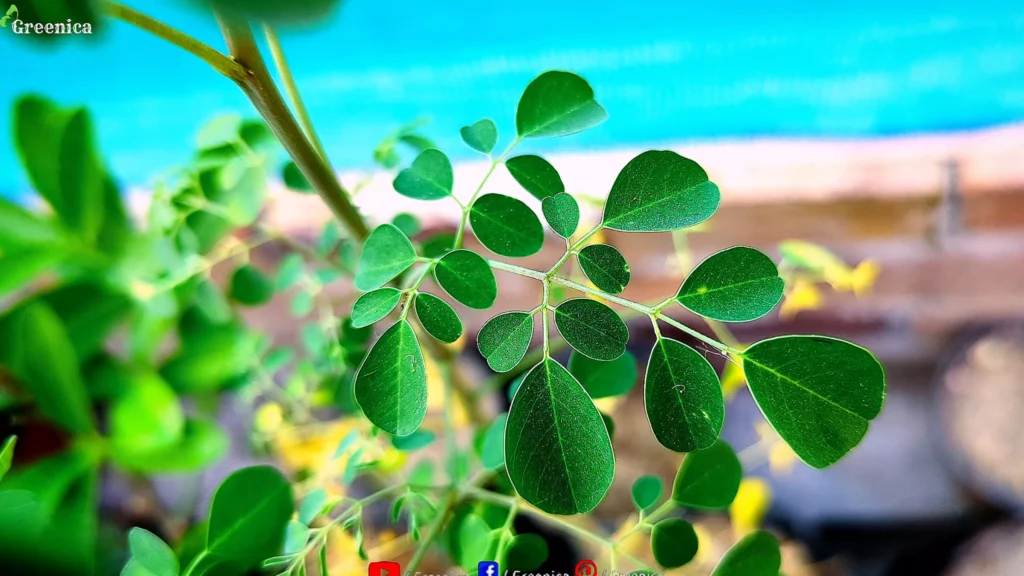
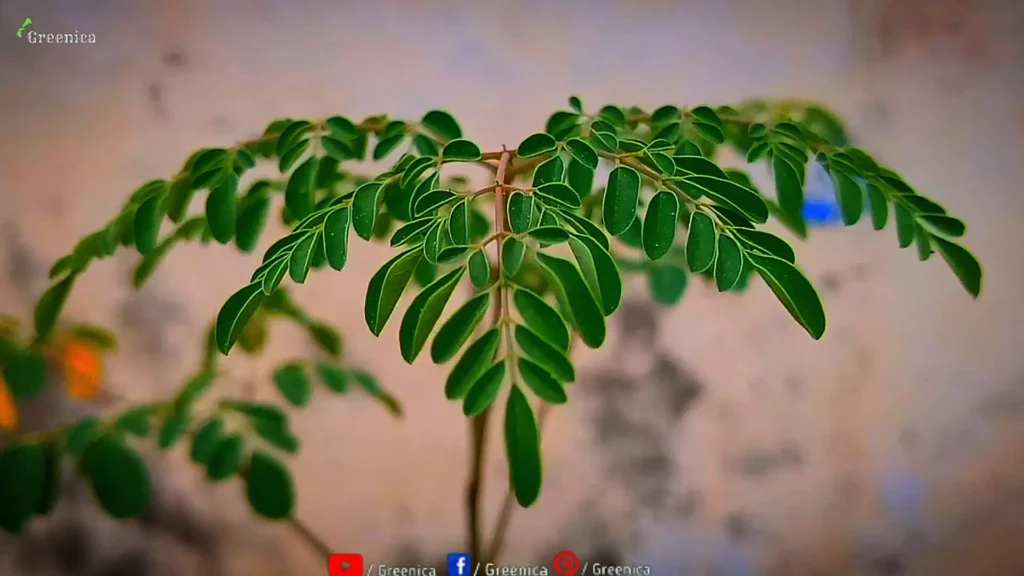
The Moringa plant belongs to tropical regions with hot and dry climates. It’s an outdoor tree mostly grown in the ground, but it survives well in pots too if cared for properly. Its growing season starts as soon as the spring season begins.
The warm weather helps the plant kickstart new growth, and the summer season is its peak growth time. You’ll see a lot of new shoots growing, leaves forming, and the plant getting bigger in size. That all happens mostly because of the growing season.
And this is the same thing beginners often miss, but my job is to help you find out the missing pieces so you can grow better.
When the winter season begins, the plant slowly goes into dormancy. Dormancy simply means the resting period of the plant. During this time, the temperature is not ideal for the growth of the Moringa plant.
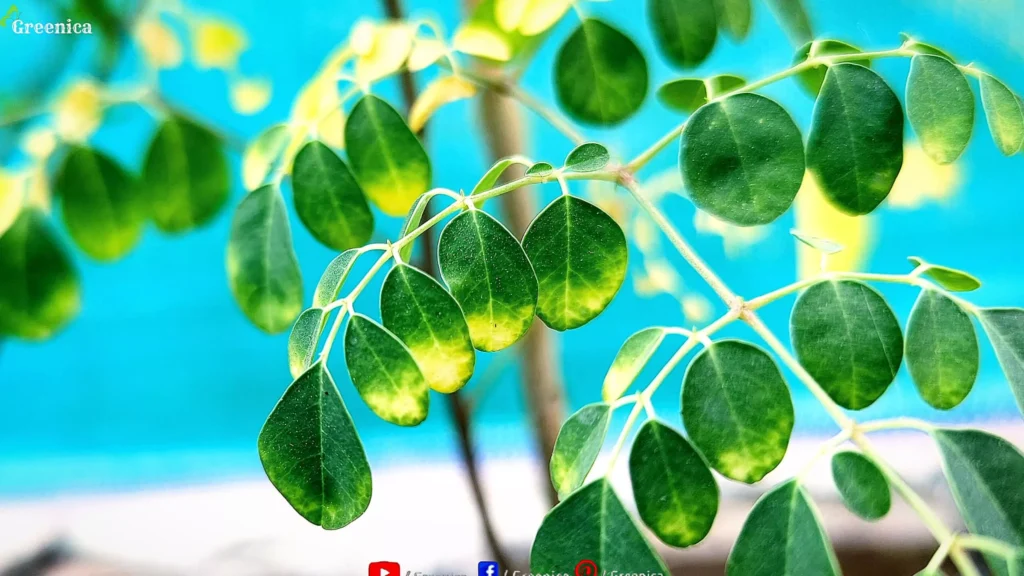
You’ll see some of the leaves turning yellow. If the plant is placed outdoors under the open sky, all the leaves may fall off, but the plant won’t die.
If your plant is a young potted plant, you should move it indoors or into the shade to protect it from winter frost.
2-Using the Ideal Pot?

Another key thing that matters a lot while growing a Moringa plant at home is your planter. Originally, the Moringa plant grows in the ground. If you are growing a Moringa plant in pots, pot size becomes very important.
Last year, when my plant was in a small pot, one day the growth suddenly stopped. The roots had become root-bound, but I didn’t have a clue why the growth stopped.
Then I realized the pot was too small for such a big plant. So I shifted it into a grow bag like this. Some good pots are also added Here if you’d like to buy one.
After repotting, within a few days the plant recovered, and then healthy green growth started again.
You might be making the exact same mistake, so simply analyze your plant. It’s an easy-to-miss thing, and anyone can miss this small detail. Simply fix it by using a bigger grow bag or planter, and as the roots start growing again, you’ll also see new leaves appearing.
3-This Soil is the BEST!
Soil media also plays a crucial role in the healthy growth of a Moringa plant, and beginners often forget about the soil. So let me tell you, the soil is the foundation of healthy growth.
Some people may argue that the Moringa plant is hardy and low maintenance. It can survive well in any mix, and partially I agree. But when I started using this homemade soil media, the growth simply became unstoppable.
I suppose that’s because the drainage, aeration, and fertility in this soil are much better, and this further supports healthy growth.
Trust me, this soil media helps the plant reach its full growth potential. With the use of random soil, you are just limiting plant growth. In a hard and compact mixture, Moringa plants grow slowly, and problems like yellow leaves can appear.
If you are growing a Moringa plant at home in pots, you have to focus on the right soil media too.
Before I tell you the soil recipe, one more important thing is that good soil greatly reduces the chances of overwatering. If you are a person like me who sometimes struggles with watering too much, using this soil can cut your efforts in half.
With a combination of this soil media and the fertilizer I’ll mention, the plant becomes almost immune to diseases and watering issues.
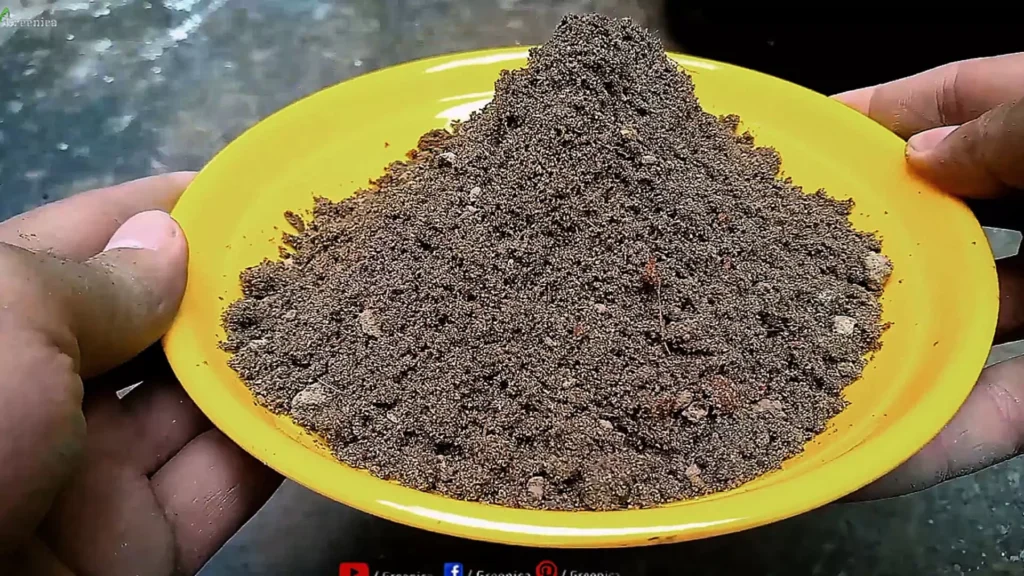
This homemade soil media is a mix of cocopeat, garden soil, and sand in certain ratios. I have added a guide on this soil recipe and its secret qualities Here if you’d like to follow it.
4-Keep the Planter in Shade or Sun?
Another thing that you shouldn’t miss at all while growing a Moringa plant at home is proper location.
Moringa trees often grow well in outdoor environments where there is plenty of sunlight, and with this logic, sunlight becomes essential for a potted Moringa plant. But that’s not completely true. Let me explain.
In the native regions of the Moringa plant, it is grown in the ground. The roots have a huge ecosystem beneath them and can spread as far as they want. But when you grow a Moringa plant in a pot, things change drastically.
In your home garden, when you place a Moringa plant in an open and sunny spot, the plant grows for some time, but eventually the growth slows down. That happens for a reason, and let me tell you what it is.
In a planter, the roots are growing in limited space. When we keep the plant in direct sunlight, the pot and soil also get hot during the daytime. This heat stress limits the growth of the Moringa plant. If your plant is placed on a rooftop garden, this problem becomes even more dangerous.
Here is the solution you should follow.
A Moringa plant does need sunlight, but it is mainly a leaf-producing plant. Only 2 to 4 hours of sunlight is more than enough.
If your plant is placed in filtered sunlight or in a semi-shaded area, you’ll see much faster growth because the plant is no longer struggling with heat stress caused by direct sun exposure.
Just make sure your plant still receives some amount of sunlight on a daily basis.
5-A Fertilizer That’s Just Amazing!

Now let me tell you about the fertilizer I use, why it works so well, and why you should not ignore it. Fertilization is another mistake that most people make while growing a Moringa plant.
It’s a moderate feeder that needs nutrition on a regular basis, not as heavily as some other plants, but still, good nutrition can boost plant growth significantly.
This is the fertilizer I made at home and started using on some of my indoor plants and perennial outdoor plants for almost a year now, and honestly, I was surprised by the results myself in the beginning.
It’s a mix of nutrients in a balanced form. You can use it for a long time without needing any other fertilizer at all.
Before I tell you the exact fertilizer recipe, here is one more secret about Moringa plant fertilization. If your plant is going through stress or shock, even the best fertilizer won’t show good results. That’s how important the correct timing is.
You should use this fertilizer on your Moringa plant when it is producing new leaves. New leaves are a sign of active growth, and a plant responds much better when fertilized during active growth.
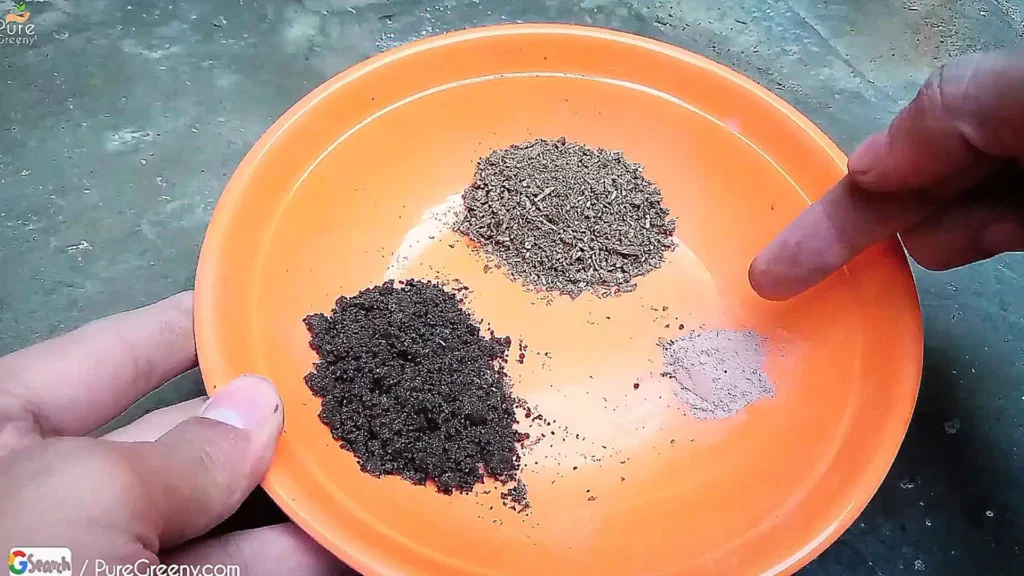
The fertilizer recipe is cow dung, leaf compost, and a small amount of rock phosphate. You can also replace rock phosphate with bone meal, but rock phosphate should be your priority.
You can buy all these ingredients from Here, and a guide on this fertilizer is also linked Here. You are welcome to learn more about this fertilizer.