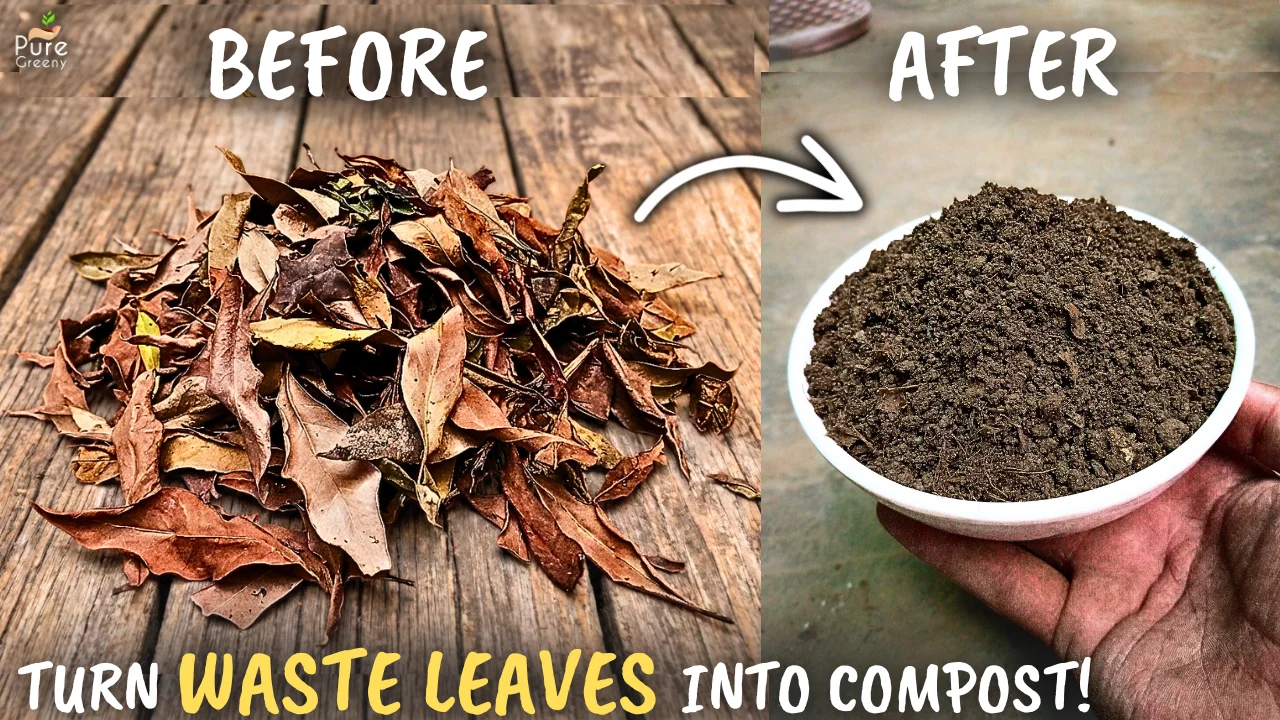
STEP BY STEP: How to Make Leaf Compost at Home? (Fast & Easy)
Leaf compost is also known as black gold due to its high nutritional value. It’s a superfood for plants, and making it at home is also very easy. So, in this Post, we will dig deep into how you can make black gold using waste leaves at home. Let’s begin.
A Few Benefits of Leaf Mold Compost!
Unlike other types of compost, leaf mold compost is beneficial because it packs nutrients in a balanced form. You can use it again and again without worrying about overuse side effects.
On the other hand, many composts, like chicken manure and cow dung compost, are often high in nitrogen, and more nitrogen means you can’t use them regularly. Otherwise, your plants can burn.
Leaf mold compost can be used on plants on a regular basis. It contains all the nutrients plants require in an organic form. It’s also a slow-release fertilizer, which is very beneficial.
It promotes microbial life in the soil, and it improves the soil structure too. Overall, it’s very useful for every gardener, so let’s learn how to make it.
When Is the Right Time to Make Leaf Mold Compost?

First of all, it’s very important to understand the right time to make leaf mold compost. Dead and dry leaves automatically turn into a black powdery substance over time, but if you want to make it fast and properly, you have to wait for the ideal season.
Bacteria, insects, and fungi eat the dead and dried leaves, turning them into leaf mold compost. So we have to see when these decomposers work most efficiently.
They like a hot and humid environment, so ideally, for making leaf mold compost fast, you should do it during the summer days. But if you live in a cold climate region, you can move the bucket to the basement or somewhere warm.
If you keep it outdoors, the leaf compost will still be ready, but it will take a lot of time, maybe up to six months or more.
Going Layer by Layer…
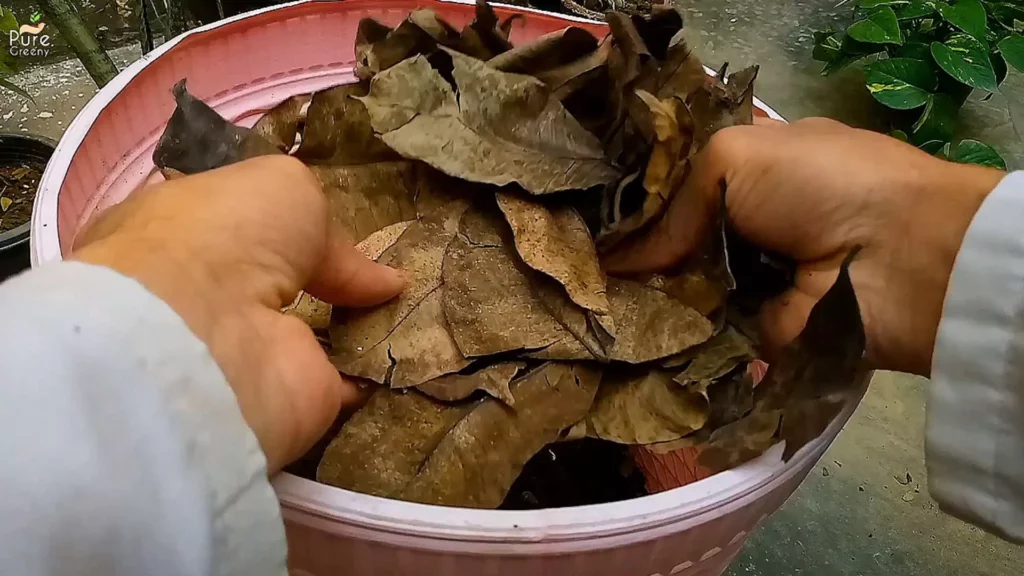
First of all, you have to gather all the dead and dried leaves. Make sure they are fully dry. You can collect any kind of leaves. If you have a variety of leaves, that will work even better because your compost will be a mix of nutrients.

You can also add a few soft branches to this mixture, but make sure not to add thick and hard branches because they take much longer to decompose.

Now take a bucket or bin. It’s better if you can make it in some kind of porous container. More airflow means better decomposition. At the base, make a few drainage holes so the extra moisture can drain out.

Now let’s start adding our material. If you have some compost, you can add it at the base. Only a thin layer is enough. Compost or soil both have a lot of microbes that are required to kick-start the decomposition.
Now let’s add our dried leaves. If you want to make compost even faster, you can crush the leaves into smaller pieces. This increases the surface area for microbes to work on and enhances faster decomposition.
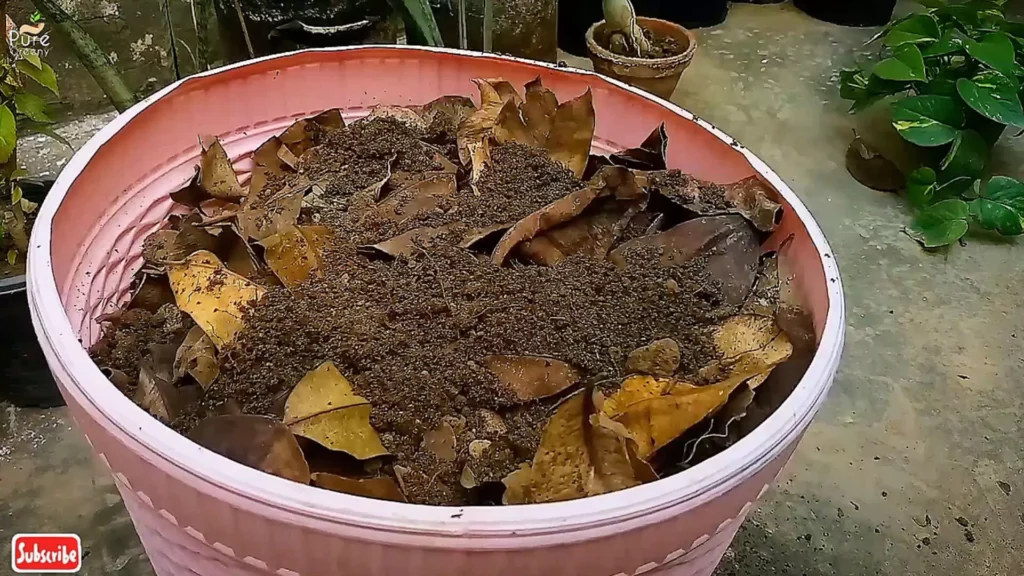
Again, add a layer of compost or soil, then add leaves. Each layer of compost or soil contains microbes, and they will work on the surrounding leaves.

This layering helps in faster decomposition. If you are composting dry leaves, this won’t smell at all. You can also add a layer of soil at the top, and there will be no smell at all.
Add a lot of water to make the whole media moist. This is important for microbes. Keep the decomposing bin in a dark, warm, and shaded spot.
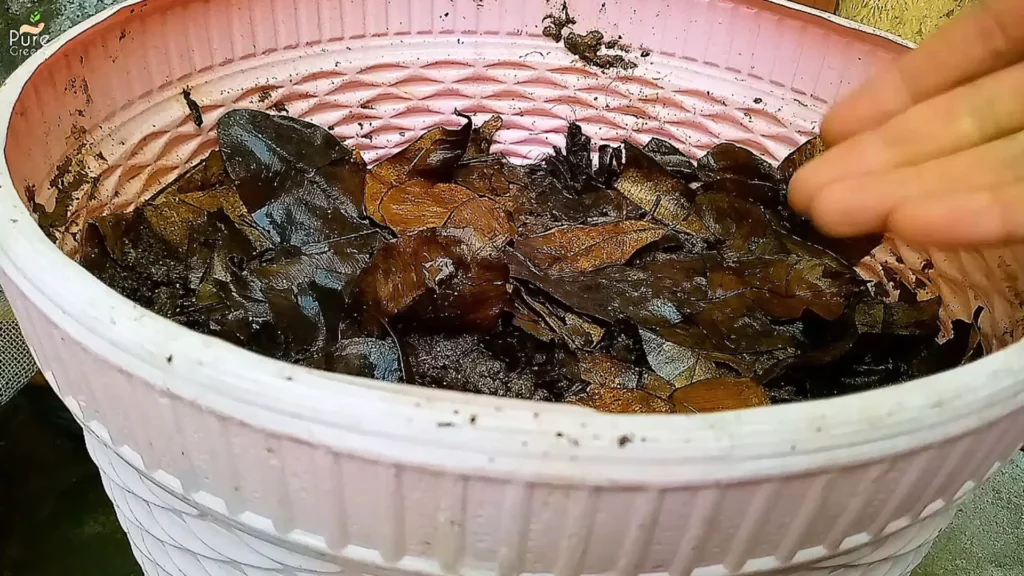
Within a few weeks, you will see your composting material settling down. It’s a sign that decomposition has started. For the first month, you will see the volume of the composting material decreasing. That’s because the bacteria and microbes are eating the material.

After a month or two, you will see the material settling down even more. At this time, the base material might be ready for use. You can shuffle the upper material every now and then so the decomposition can work evenly.

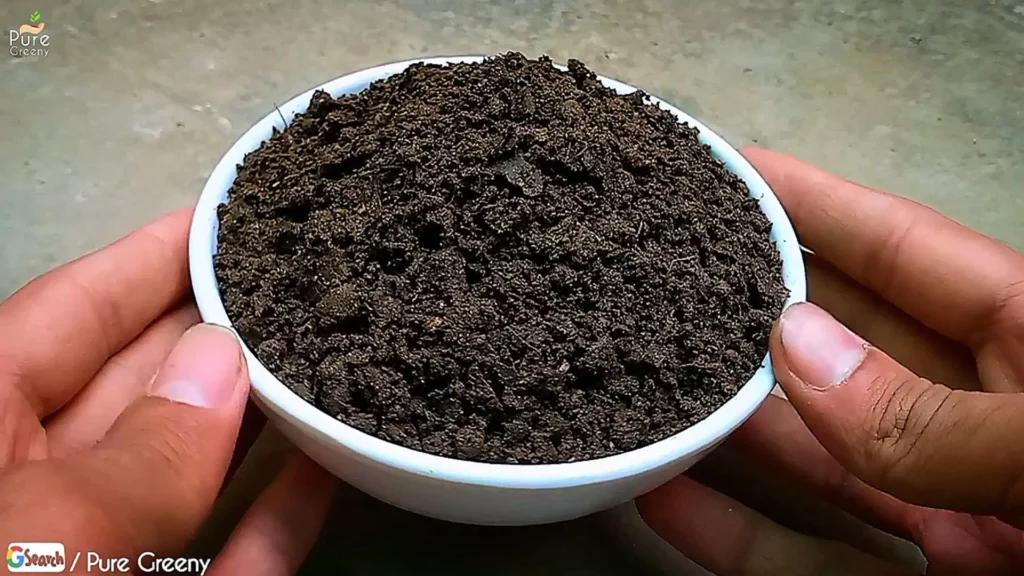
After around three months, our composting material will be fully ready for use. To check it, simply dig out an inch of the top material. If the material down there looks black and porous, it’s ready for use.

Now understand that decomposition doesn’t work evenly. You may see a few residues of leaves and stems; that’s completely okay. You can use a strainer or filter to remove all the bigger pieces and separate the fine material.
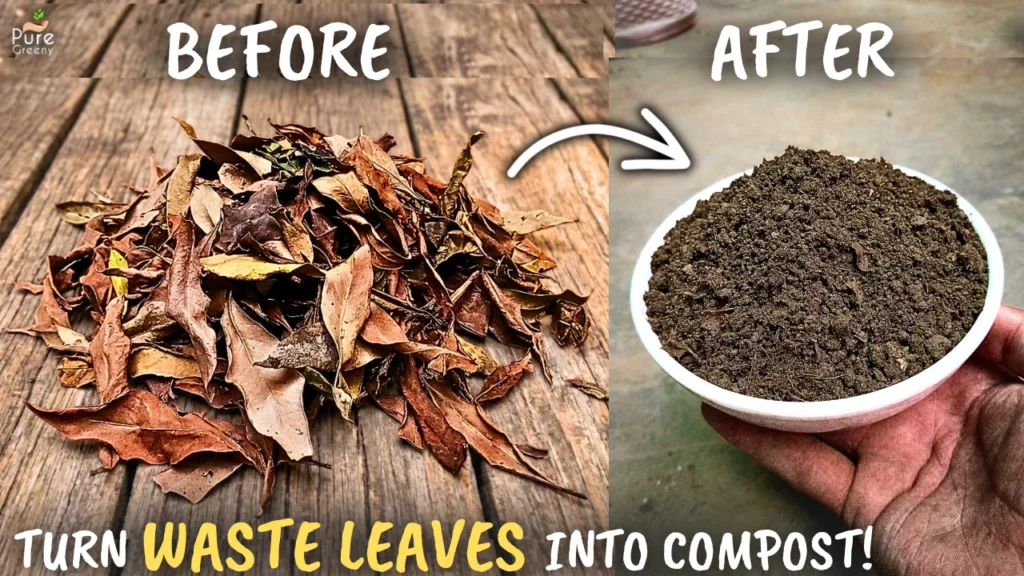
So finally, here we have our homemade organic leaf mold compost ready. It contains all the nutrients ready for absorption. All you have to do is apply it to the plant.
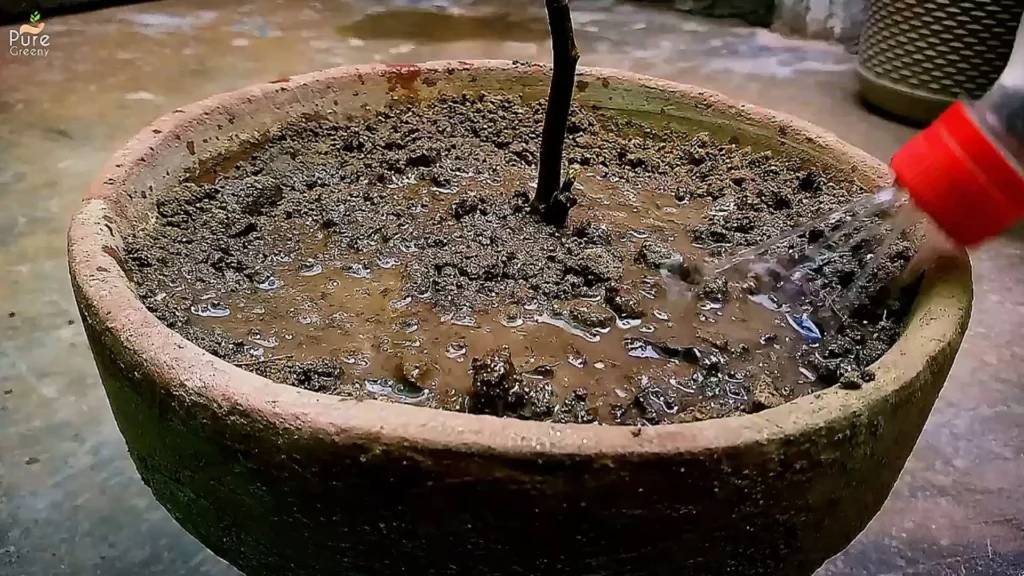
How to Use It for Plants?
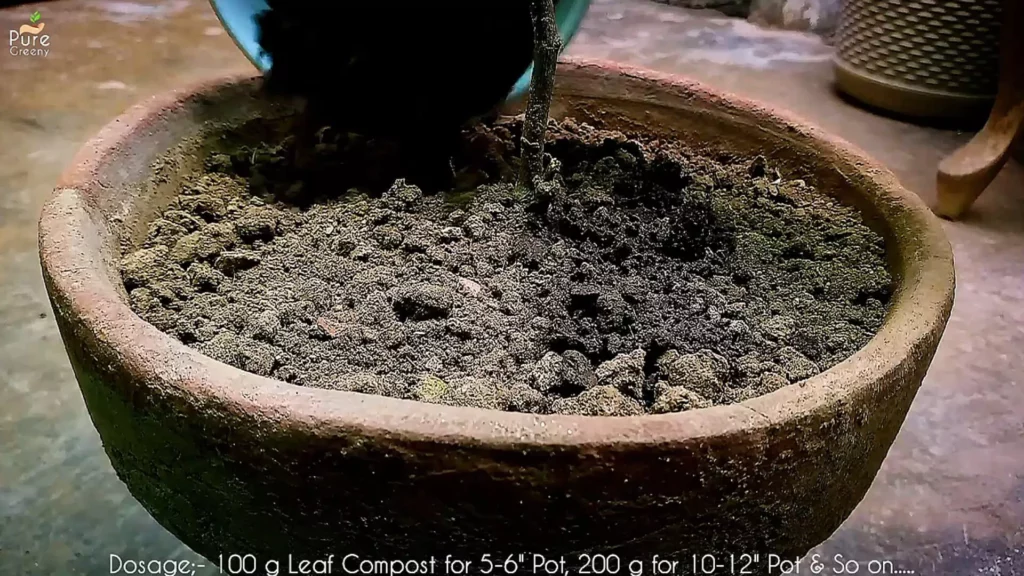
For using leaf mold compost on any plant, loosen up the soil and add up to a handful of leaf mold compost to it. Mix it really well and water a little. You can use a handful for a 10-inch pot every month.
If you want to use it on the ground, you can use up to a pound of leaf compost per square foot of area. Leaf compost is just like soil, so don’t worry about any side effects. Use it anytime you want.
If you want to buy ready-made leaf compost, it’s also added Here. Here is a detailed Guide on another safe form of compost, which is vermicompost. Feel free to follow it.


